
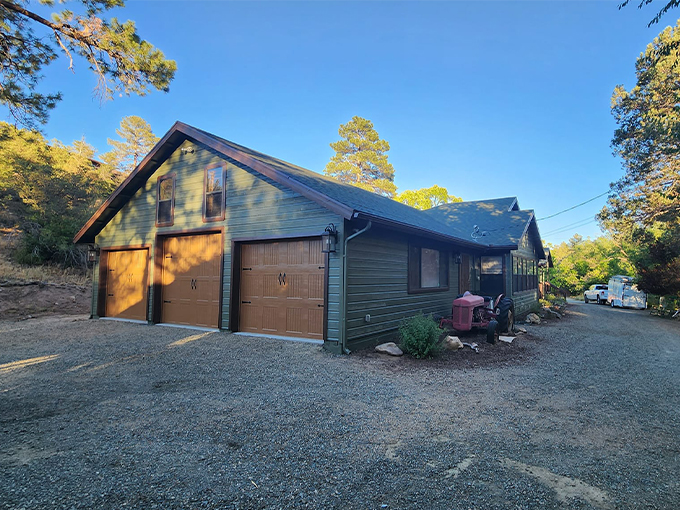
Give your house a fresh, updated look with exterior paint.
Transform Your Home’s Curb Appeal: Expert Tips for Choosing and Applying Exterior Pain
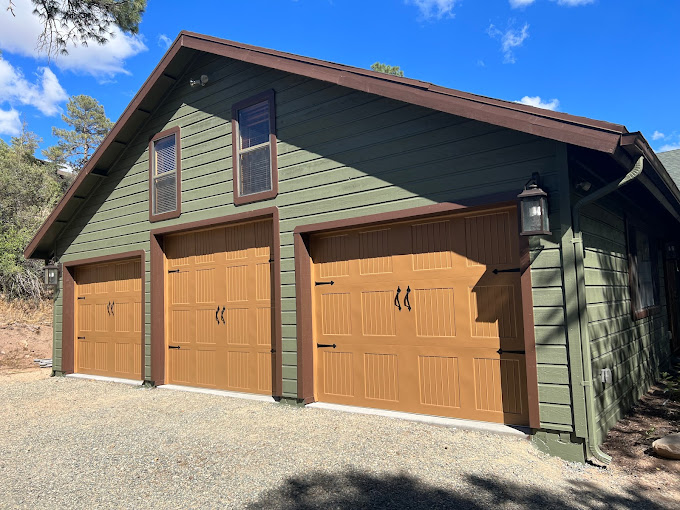
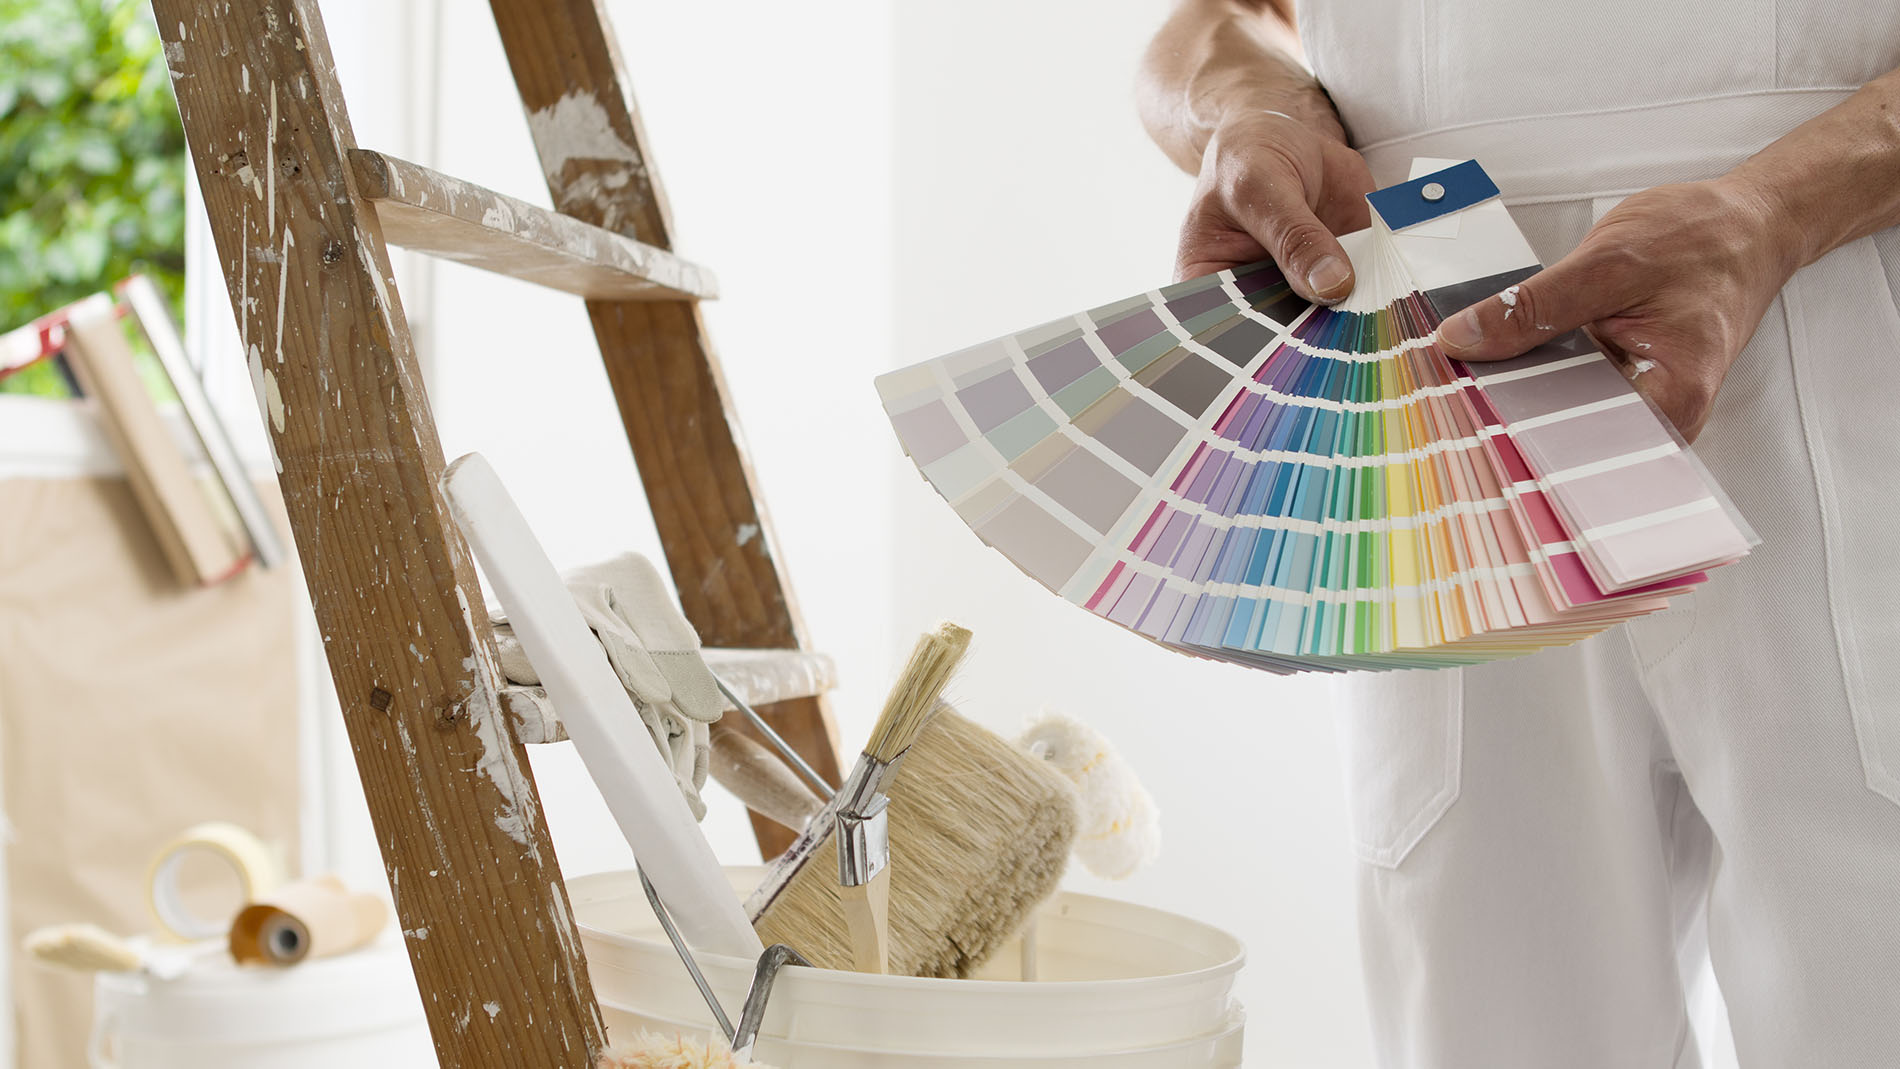
1. Choose the Right Paint Color Select a color that complements your home’s fixed elements, like roof shingles and architectural style. A harmonious color choice can transform your home’s look and value.
2. Prep Your Home Complete all exterior repairs and preparations for a smooth, long-lasting finish. Check our guide on preparing your house for exterior painting for detailed steps.
3. Check the Weather Before painting, ensure the weather is favorable. Ideal temperatures are between 50°F and 85°F. Avoid rain, high winds, and high humidity to prevent paint damage.
4. Ladder Safety Set your ladder on flat, stable ground and follow safety guidelines. Refer to our Ladder and Scaffolding Buying Guide for more tips.
5. Paint Wisely Avoid painting in direct sunlight. Paint the west-facing side in the morning and the east side in the afternoon to prevent streaks and ensure even drying.
Follow these tips for a beautiful, durable exterior finish. Happy painting!
Step 1: Pressure-Wash for Perfect Paint Coverage
To achieve the best paint coverage, start by removing dirt and dust buildup from your home using a pressure washer. Work from the top to the bottom in a smooth, controlled manner, overlapping each stroke by 8 inches. This technique ensures a clean surface, setting the stage for a flawless and long-lasting paint job.

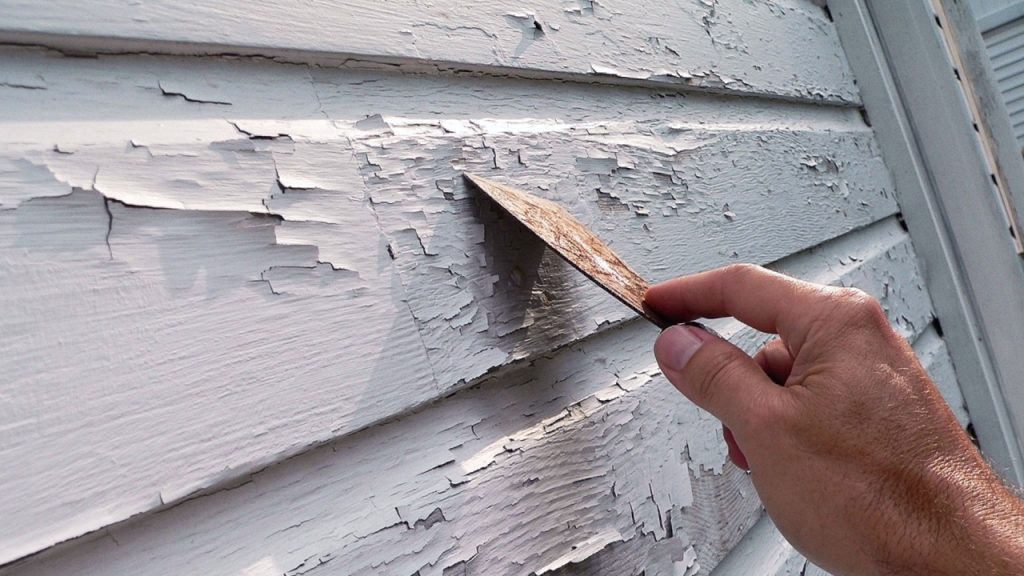
Step 2: Scrape Loose Paint
Once the exterior is dry, walk around the perimeter of your house, inspecting for any loose or chipped paint. Place drop cloths along the ground to protect surfaces. Remove chipped and loose paint using a paint scraper or medium-grit sanding block. This thorough preparation ensures a smooth, clean surface for a flawless and long-lasting paint finish
Step 3: Caulk Trim
Ensure a professional look by filling any gaps between the house and trim around doors and windows using exterior caulk and a caulk gun. For homes with mixed materials, such as siding and brick, apply caulk along the surfaces where different materials meet. This step is crucial for creating a seamless appearance and protecting your home from moisture and drafts, ensuring a long-lasting, beautiful paint job

Step 4: Paint the Trim
After your primer has dried, it's time to perfect your caulking game. Applying caulk around window trim and any gaps not only seals your home from water intrusion but also enhances its aesthetic appeal. Caulking ensures a seamless transition between siding, trim, and other surfaces, giving your home a polished look that lasts.
Here's where to focus your caulking efforts:
- Seal gaps where siding meets trim around windows and doors for a tight seal against moisture.
- Apply caulk along all siding joints, except where window casing meets the window sill, to prevent moisture buildup and potential rot.
- Avoid caulking horizontal edges between clapboards to allow proper ventilation and prevent moisture entrapment.
With expert caulking techniques, you'll fortify your home against the elements while elevating its beauty and durability for years to come.

Step 5: Protect Doors, Windows and Lights
Cover doors, windows and lighting fixtures using plastic sheeting and painter’s tape.

Step 6: Paint Exterior
Load your chosen flat or eggshell exterior paint color into the paint sprayer. Depending on the color intensity, apply one or two coats of paint to the entire house. Ensure a flawless finish by working from top to bottom in a smooth, controlled manner, overlapping each stroke by 8 inches.
Here are some expert tips to keep in mind:
- Color Transition? Prime First: If transitioning from a light to dark or dark to light color, start with a coat of primer for optimal coverage. Primer ensures the true hue shines through. No need for primer if you're sticking to the existing color.
By following these steps and tips, you'll achieve a professional-quality exterior paint job that enhances your home's beauty and durability.


1 reply.
Ulises
June 5, 2024
These tips are spot-on! They make the whole painting process clear and manageable, from picking the perfect color to the final coat. It’s all about those little details that make a huge difference. Can’t wait to see how your home turns out! Happy painting!