Expert Tips on Patching and Repairing Drywall.
Living in Arizona means embracing its unique climate, and for homeowners, that also means dealing with the wear and tear it can cause on our homes. Drywall, the most common wall material in homes, often bears the brunt of this damage. From small dings to larger holes and cracks, knowing how to patch and repair drywall is an essential skill for maintaining a beautiful and functional home. In this guide, we’ll walk you through the steps to effectively repair drywall, tailored specifically to the conditions in Arizona.
Before diving into repairs, it’s crucial to understand the types of damage you might encounter:
- Small Holes: These can be caused by nails, screws, or minor impacts.
- Large Holes: Often resulting from accidental damage or removing fixtures.
- Cracks: Commonly due to settling foundations or the dry climate causing the drywall to expand and contract.
climate can exacerbate these issues, leading to more frequent and severe damage if not promptly addressed.
Step-by-Step Guide to Patching Small Holes
1. Preparing the Damaged Area
Clean the Area Around the Hole: Before you start the repair process, make sure the area around the hole is clean. Dust, dirt, and loose debris can interfere with the adhesion of the patching materials. Use a damp cloth to wipe the area clean and allow it to dry completely.
Cut Away Loose or Damaged Drywall: Using a utility knife, carefully cut away any loose or damaged drywall around the hole. This will help create a smooth and even surface for the patch to adhere to. Be cautious not to enlarge the hole more than necessary.
2. Applying the Patch
Choose the Right Patch: For small holes (less than 1/2 inch in diameter), you can use a pre-made adhesive patch or mesh tape. These patches are readily available at hardware stores and come in various sizes.
Position the Patch: Place the adhesive patch or mesh tape directly over the hole, ensuring it covers the hole completely and sticks firmly to the surrounding drywall. Smooth out any wrinkles or air bubbles to ensure a flat and even application.
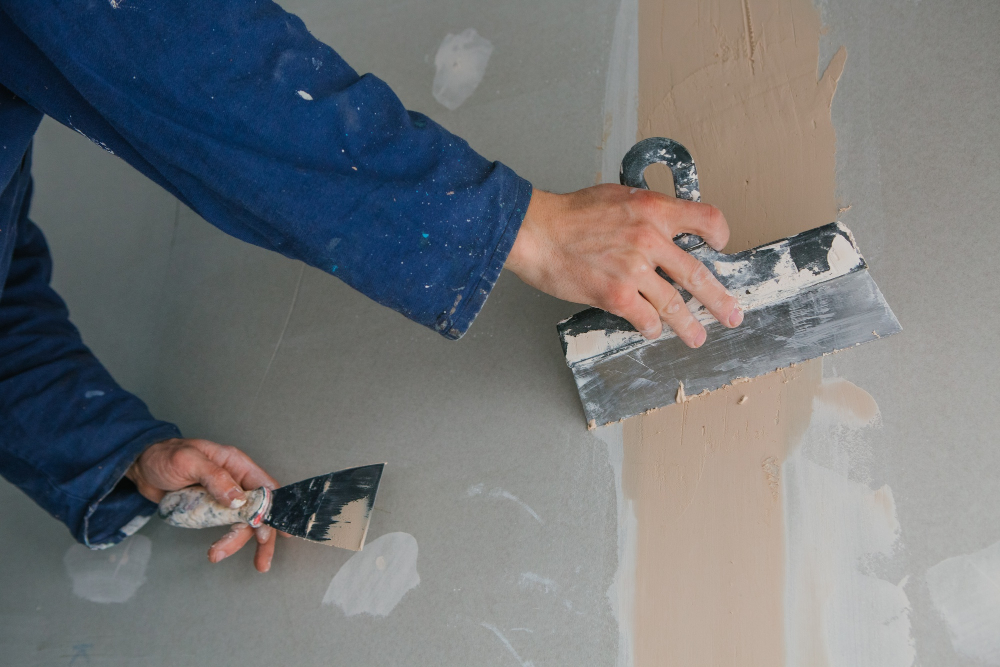
Apply Joint Compound: Using a putty knife, apply a thin layer of joint compound over the patch. Spread the compound evenly, extending a few inches beyond the edges of the patch to blend it seamlessly with the surrounding wall. Be sure to feather the edges to avoid a noticeable bump.

Repairing Large Holes in Drywall
When dealing with a hole in the wall that exceeds 4 inches in diameter, patching it requires installing a new piece of drywall. This repair process involves cutting into the wall, so it's crucial to first identify the locations of any electrical wires and utilities. Before proceeding, use a stud finder to pinpoint the wall studs, as these are typically where wires are fastened
Preparing the Area:
- Use a drywall saw to cut a clean, rectangular hole around the damaged area.
- Measure and cut a new piece of drywall to fit the hole.
Using a Drywall Patch or New Piece of Drywall:
- Attach the new drywall piece using drywall screws, securing it to the studs.
- Apply mesh tape around the edges.
Securing the Patch and Finishing the Surface:
- Cover the seams with joint compound, smoothing it out with a putty knife.
- Sand once dry, apply additional coats if needed, and finish with matching paint.

Cut Out the Damaged Area
To begin drywall repair, take a carpenter’s square and a pencil or marker to draw a line at least an inch above and below the damaged area. Locate the nearest stud on either side of the hole using a stud finder and mark their positions. With a drywall saw, cut along the drawn lines until you reach the wall studs. Once at a stud, measure and mark 3/4 of an inch further in to find the center of the stud, then score these marks with a utility knife. The patch edge should align directly over the stud to ensure both the existing drywall and the patch are supported. Continue carefully cutting along the lines with the utility knife, making several passes with each cut slightly deeper than the last. Finally, remove the damaged piece of drywall.
Safety Tip: Always cut away from your body.

Cut and Install the Support
Step-by-Step Guide to Reinforcing Your Drywall Patch
Prepare Your Support: If your patch needs extra support, cut a piece of scrap lumber or plywood. A 1 x 3-inch piece of lumber or a 3/4-inch piece of plywood works well. Make sure it's about 2 to 4 inches longer than the height of your patch.
Secure the Supports: Position the supports vertically behind the opening in the drywall. Use drywall screws to attach them, ensuring they are firmly in place. This added support will help prevent any future cracking in your patch.
Sink the Screws: As you screw the supports into place, make sure to sink the heads of the screws slightly below the surface of the drywall. This will ensure a smooth finish when you apply the patch.
By following these steps, you’ll create a strong and durable repair that blends seamlessly with the rest of your wall.

Cut the Drywall Patch & Install
Create the Patch:
- Cut a 2 x 2-inch piece of drywall. Use the piece you removed as a template to ensure your patch matches perfectly.
- Utilize a utility knife and a carpenter's square to make precise cuts.
Fit the Patch:
- Test fit the patch in the wall opening. It should slide in easily and fit securely, without needing to be forced.
Install the Patch:
- Position the drywall screws at least an inch away from the edges to prevent the drywall from splitting or crumbling.
- Use a drill to secure the patch to the support and wall studs, ensuring the screws are slightly recessed below the drywall surface.

Secure and Finish Your Drywall Patch
Apply the Tape:
- Carefully apply strips of self-adhesive fiberglass drywall tape around the edges of your patch. Make sure to center the tape over the seams to ensure a strong hold.
Spread the Compound:
- Use a 6-inch drywall knife to smoothly spread drywall joint compound over the patch and tape. Aim for a flat, even surface to make the repair seamless.
Dry and Sand:
- Allow the compound to dry overnight. Once dry, sand the area until it’s smooth to the touch. This is the key to a professional finish.
Repeat the Process:
- Apply a second coat of joint compound, let it dry, and sand again. For an ultra-smooth finish, use a 12-inch drywall taping knife for a third coat, let it dry overnight, and then sand once more.
Prep for Painting:
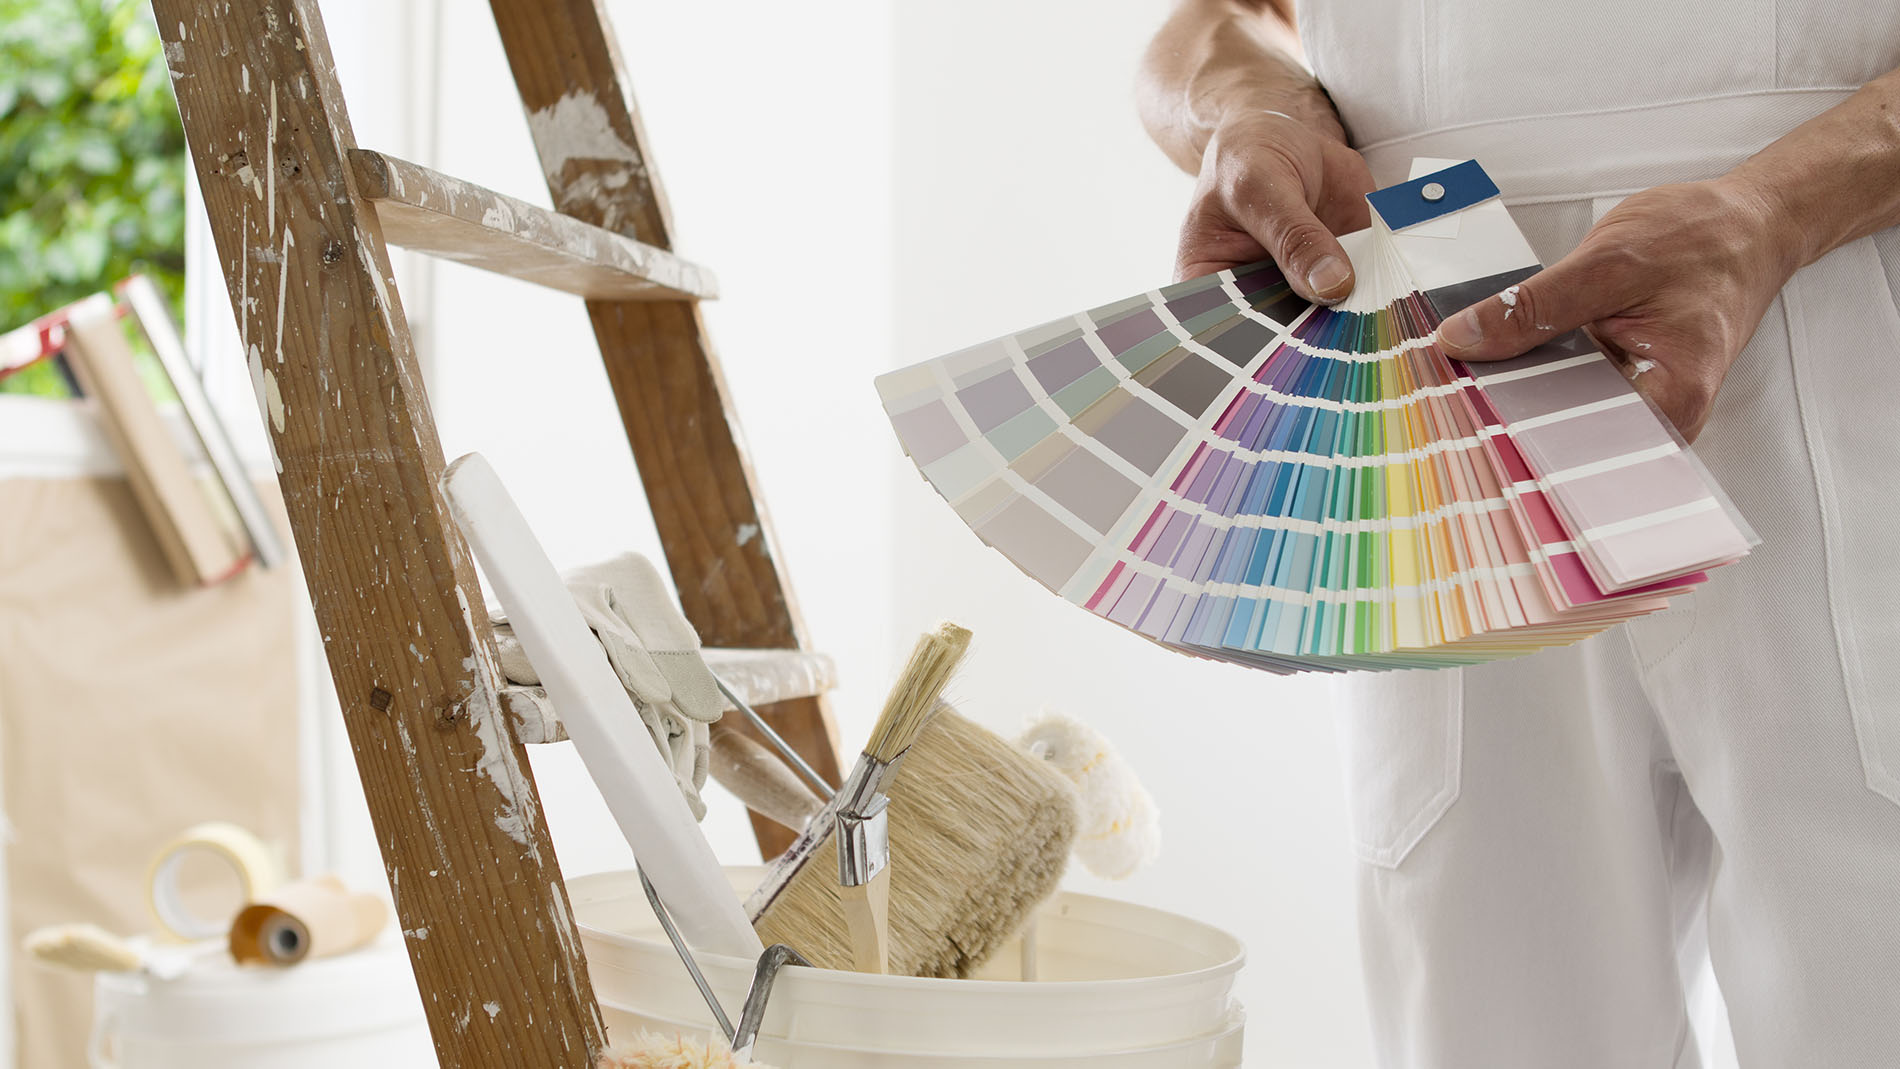
- Wipe down the patched area with a tack cloth to remove any dust. Your wall is now ready for a fresh coat of paint, completing your flawless repair.


