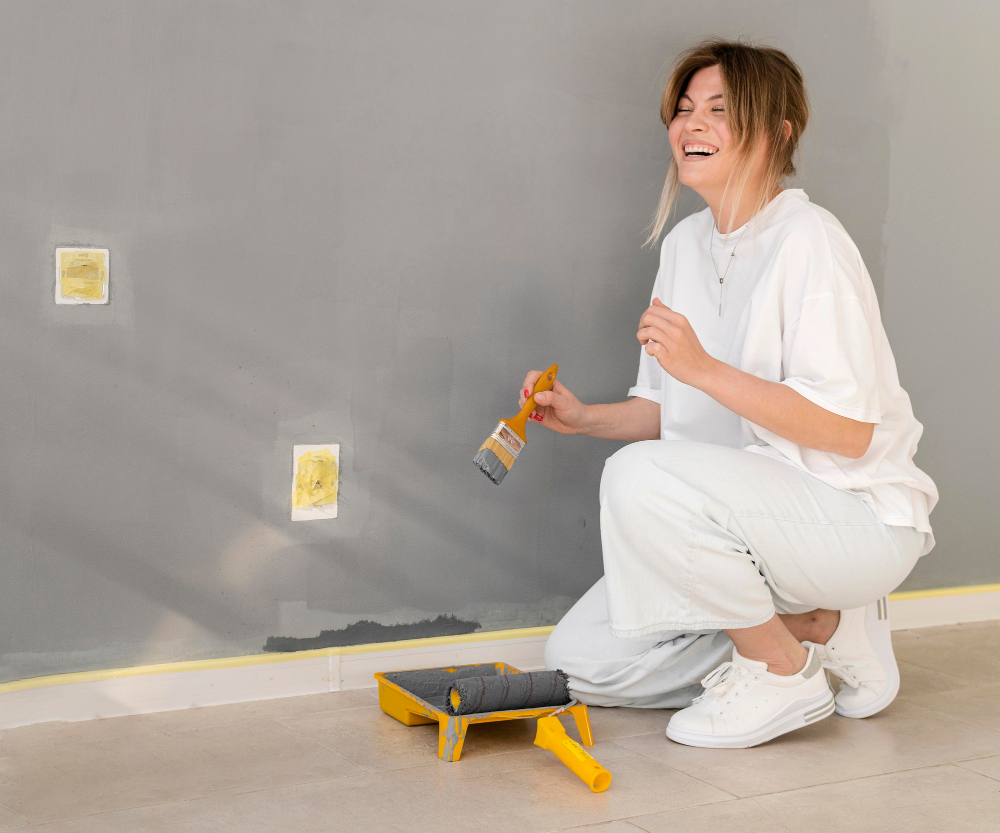
Imagine walking into a room where the baseboards and trim are freshly painted, giving the space a clean and polished look.
Painting baseboards and trim can significantly enhance the overall look of your home. While it may seem like a daunting task, with the right approach and a few handy tips, you can achieve a professional finish. This guide will walk you through the process step-by-step, ensuring your trim and baseboards look flawless.
Prep Materials:
- Quality paintbrushes (angled sash brush for precision)
- Painter's tape
- Drop cloths or plastic sheeting
- Sandpaper or sanding sponge
- Primer and paint (preferably semi-gloss or gloss)
- Clean cloths or tack cloth

- Putty knife, wood filler, and caulk for any necessary repairs
2. Prepare the Area
Clean the Surface: Wipe down the baseboards and trim with a damp cloth to remove dust and dirt.
Sand and Repair: Lightly sand the surfaces to smooth out imperfections. Fill any holes or cracks with wood filler and sand again once dry.
Tape Off: Use painter's tape to protect walls and floors from paint splatters.
3. Apply Primer
Importance of Primer: Primer ensures better paint adhesion and a uniform surface.
Application Tips: Apply a thin coat of primer using smooth, even strokes. Allow it to dry completely before painting.
4. Painting Technique
Choose the Right Paint: Use high-quality paint suitable for trim and baseboards. Semi-gloss or gloss finishes are ideal for durability and ease of cleaning.
Brush Selection: An angled sash brush is perfect for precision, especially for edges and corners.
Paint Application
- Cut In: Start by cutting in around the edges with the angled brush.
- Smooth Strokes: Use long, smooth strokes to apply the paint, following the wood grain.
- Thin Coats: Apply multiple thin coats rather than one thick coat to avoid drips and ensure a smooth finish.
5. Finishing Touches
Inspect for Missed Spots: After the paint dries, inspect the trim and baseboards for any missed spots or uneven areas and touch up as necessary.
Remove Tape Carefully: Once the paint is dry, carefully remove the painter’s tape to reveal clean, sharp lines.
Clean Up: Clean your brushes and dispose of any used materials properly.
6. Maintenance Tips
Regular Cleaning: Keep your newly painted baseboards and trim looking fresh by regularly dusting and wiping them down.
Touch-Up Kit: Keep a small amount of the paint used for future touch-ups to maintain the pristine look over time.
Detailed Steps for Success
7. Choosing the Right Paint Color
Complement Your Décor: When selecting a paint color, consider the overall color scheme of your room. White and off-white are classic choices that add brightness and a clean look, but don’t be afraid to explore other colors that complement your walls and furniture.
Test Samples: Before committing to a color, test a few paint samples on your baseboards and trim. Observe how they look in different lighting conditions throughout the day.
8. Sanding Tips for a Smooth Finish
Start with Coarser Grit: Begin sanding with a coarser grit (e.g., 120) to remove old paint or rough areas. Follow up with a finer grit (e.g., 220) to smooth the surface.
Use a Sanding Sponge: Sanding sponges conform to the shape of the trim, making it easier to sand curved or detailed areas.
9. Primer Selection and Application
Choosing the Right Primer: For wood trim, use a high-quality latex or oil-based primer. If you’re painting over a dark color or stained wood, consider a stain-blocking primer.
Application Techniques: Apply the primer in thin, even coats. Pay special attention to detailed areas and ensure you cover the entire surface.
10. Advanced Painting Techniques
Feathering Technique: To avoid visible brush strokes, use a feathering technique by lightly brushing over the painted area with the tip of the brush, creating a smooth transition.
Wet Edge: Maintain a wet edge by working in small sections and overlapping each stroke slightly. This prevents visible lines where the paint starts to dry.
11. Handling Different Types of Trim
Detailed Trim: For intricate or detailed trim, use smaller brushes or even artist brushes to ensure complete coverage without overloading the paint.
Wide Baseboards: When painting wide baseboards, use a larger brush or a small roller for even coverage. Follow up with a brush to smooth out any roller texture.
Painting baseboards and trim doesn’t have to be a daunting task. With the right preparation, tools, and techniques, you can achieve a professional-looking finish that enhances your home’s interior. Follow these easy tips and enjoy the satisfaction of a job well done.


