Give your house a fresh, updated look with exterior paint.
DIY Popcorn Ceiling Removal: What You Need to Know
Yes, you can remove a popcorn ceiling yourself! But before you grab your tools, consider a few key factors. According to Justin Krzyston, president of Stonehurst Construction in Studio City, California, proper preparation is crucial.
First, check for asbestos. Popcorn ceilings installed before the 1980s often contain asbestos, a hazardous material. Krzyston advises testing your ceiling—either hire a pro or use a DIY test kit. If asbestos is found, hire a licensed professional for removal.
If your ceiling is asbestos-free, assess your DIY skills. Removing popcorn ceiling can be time-consuming and physically demanding, especially for large areas. Experienced DIYers might spend 20 hours on a 500-square-foot ceiling, while beginners may need more time. Use safety gear, such as gloves, a mask, and eye protection, and take frequent breaks.
With the right preparation and precautions, you can successfully tackle this home improvement project. For detailed safety guidelines, refer to the Environmental Protection Agency's (EPA) recommendations on asbestos.
Step 1: Crucial Asbestos Testing Tips for Safe Popcorn Ceiling Removal
If your popcorn ceiling was installed before 1980, it likely contains 1% to 20% asbestos. It's crucial to start with an asbestos test kit before attempting any removal. If asbestos is detected, it's best to call a professional for safe removal. If the ceiling is in good condition, it can be left undisturbed or encapsulated.
For painted ceilings, skim coating with an ultra-light joint compound can smooth the texture without disturbing asbestos. Most popcorn ceilings will require at least two skim coats before sanding. Be sure not to sand down into the original material. After sanding, prime and paint the ceiling for a fresh, smooth finish.
By following these steps, you can safely and effectively manage your popcorn ceiling, ensuring a healthier home environment.

Before you start removing a popcorn ceiling, ensure your room is protected. Remove all furniture and cover the floors and walls with plastic sheeting. “Scraping ceilings is very messy, so have plenty of drop cloths and tarps on hand,” advises Krzyston. Since you’ll likely be spraying water, make sure your drop cloths are covered with something waterproof. To shield walls from dust, secure plastic sheeting with painter’s tape. This is especially crucial when sanding to create a smooth ceiling finish at the end of the project.
Proper preparation will save you time on cleanup and prevent damage to your home.
Step 3: Remove Ceiling Fans and Lighting Fixtures
Next, take down ceiling fans and hanging light fixtures to make the job easier. Cover electrical boxes with painter’s tape to protect wires from water damage. “Turn off your HVAC system and close and cover all vents and electrical outlets with plastic,” Krzyston advises. Since you’ll likely be using a garden sprayer to soften the popcorn ceiling texture, make sure to turn off the electricity in the room you're working in.
Taking these precautions ensures a safer and more efficient popcorn ceiling removal process.
Step 4: Apply Water to Loosen the Popcorn Texture
Fact: A wet scrape is easier than a dry scrape. Use a garden sprayer to wet a small area (four-by-four-foot) of the ceiling. “You will want to wet down and spray the ceiling with water to make the removal of the popcorn easier,” Krzyston says. “Don’t soak it, though, as too much water could damage the sheetrock underneath.” Work in small sections to prevent areas from drying out before you reach them. After spraying with a garden sprayer or spray bottle, wait about 15 minutes for the water to absorb.
By following this method, you'll make the popcorn ceiling removal process more efficient and avoid potential damage to your ceiling.
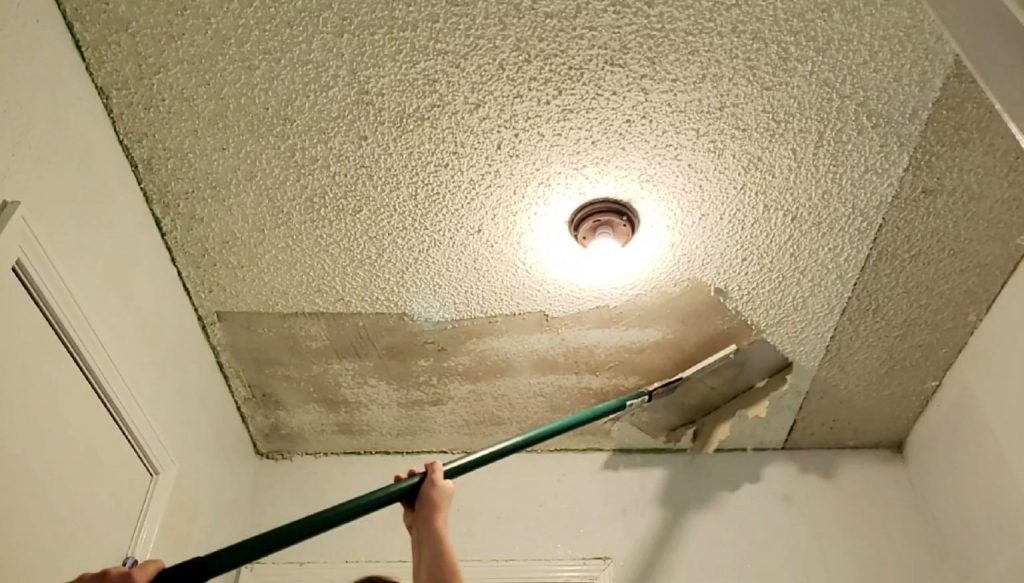
Step 5: Transform Your Ceiling into a Sleek, Flawless Surface
Ready to start scraping? Use a wide putty knife or drywall taping knife, gently running it along the wet ceiling. Exercise caution to avoid gouging the ceiling beneath. Filing the edges of your putty knife can help prevent this. Proceed around the room until all popcorn texture has been removed.
In some areas, a second pass may be necessary. Remember, you can respray the ceiling to help loosen stubborn areas. Ensure it dries fully before commencing repair work.
Should the ceiling sustain any damage, such as gouges or damaged drywall tape, utilize joint compound for repairs before sanding. During popcorn ceiling removal, hidden imperfections may emerge, such as visible joints or screws, which can also be covered with joint compound. "Tap exposed nails gently back into place," advises Bux. If a nail head persists, remove it and replace it with a drywall screw. Allow at least 12 hours for drying before using a sander to create a smooth ceiling, ready for a fresh coat of paint.
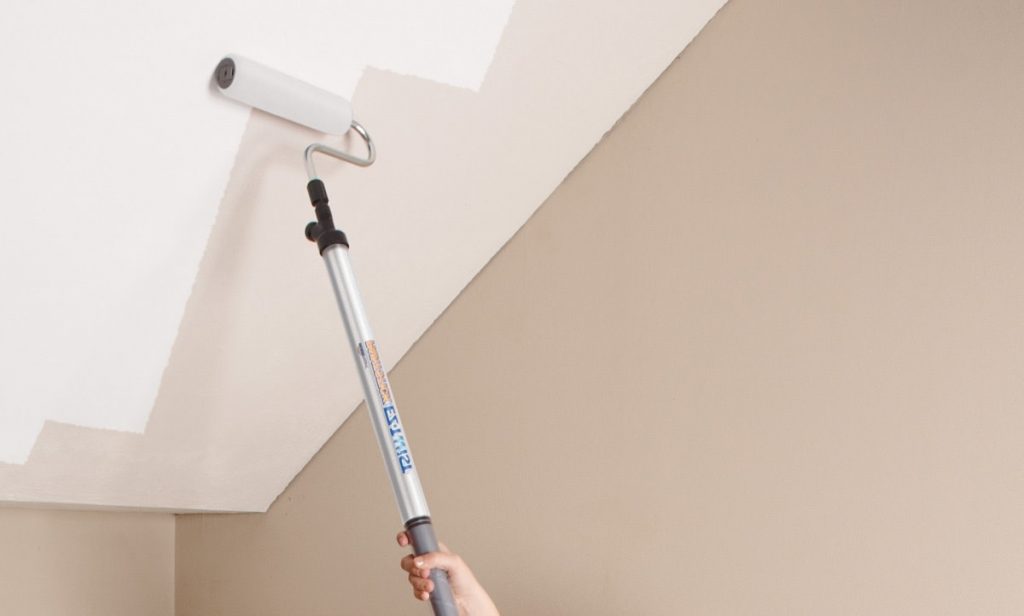
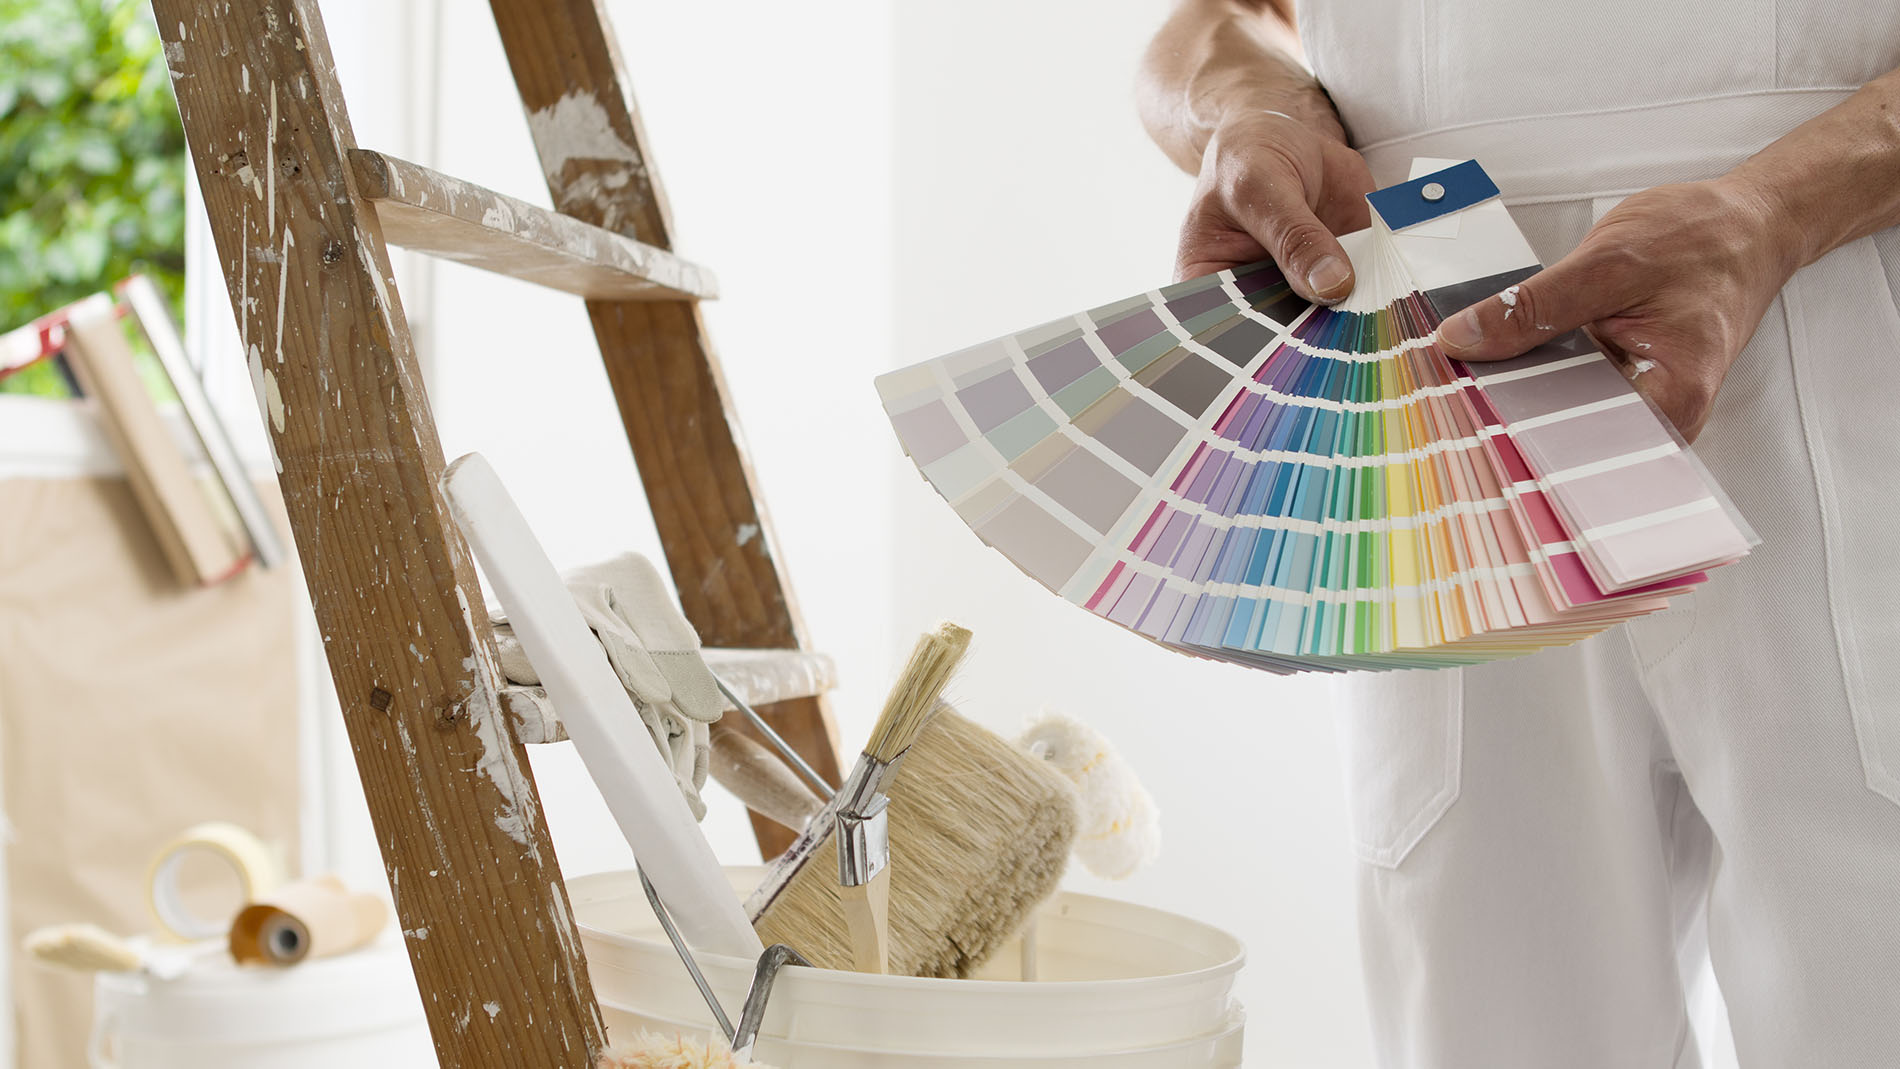
Step 6: Elevate Your Space : Prime and Paint
Get ready to transform your ceiling into a stunning focal point. Start by priming with a high-quality primer. Apply two coats of your preferred paint to achieve the perfect finish. After completing the paint job, reinstall your ceiling fans or lights, remove the protective plastic sheeting, and revel in the beauty of your newly smooth ceiling.